The Rubber Stamp tool (also known as the Clone tool) is a sophisticated copy & paste operation. Simply put, it allows you to copy an existing part of a picture and then paste it on top of another area. The Rubber Stamp does its job without looking like an unsightly band-aid patch :-)
Dust & dirt spots, blemishes, red-eye, and nearly any other kind of flaw you can imagine can be invisibly corrected with Adobe Photoshop's Rubber Stamp Tool. It can invisibly rid you of the unexpected piece of lint on a sweater, the unwanted reflection on an eyeglass lens, the detracting skin blemish or two (or more). Once you get the hang of it, you'll find yourself using the Rubber Stamp to some degree on most of your "keeper" pictures.
Photo-editing for beginners
I use Adobe Photoshop (a highly user-friendly tool;-)) for all photo-editing work
Advantages:
Photoshop can utilize the color models RGB, lab, CMYK, grayscale, binary bitmap, and duotone. Photoshop also has the ability to read and write raster and vector image formats such as: .EPS, .PNG, .GIF, .JPEG, Fireworks, etc.
I can still remember being intimidated by Photoshop's extensive features when I first started using it. But actually, learning Photoshop (and being good at it) is very easy!;-) Yet, many find it easy to give up because like it or not, photo-editing is very tedious. You need tonnes of patience.

Edit black & white photos
Just two simple steps ;-)
1) Click "Shift+Ctrl+L" (Auto Levels)
2) Use the "rubber stamp tool" to erase spots


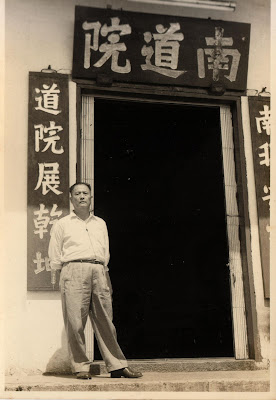
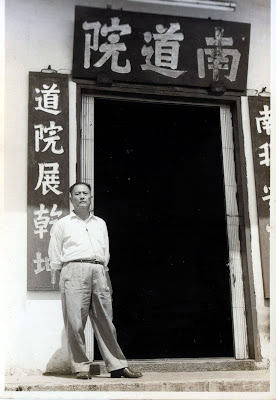


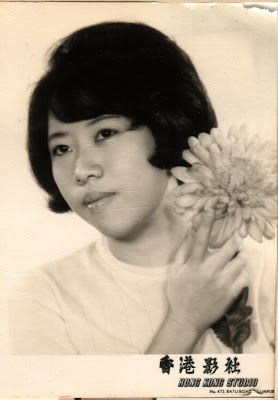

1) Click "Shift+Ctrl+L" (Auto Levels)
2) Use the "rubber stamp tool" to erase spots


Reduce glare & increase colour intensity
1) Click "Shift+Ctrl+L"
2) Adjust Brightness/Contrast
3) Use the "rubber stamp tool" to erase the white areas/glare
Before
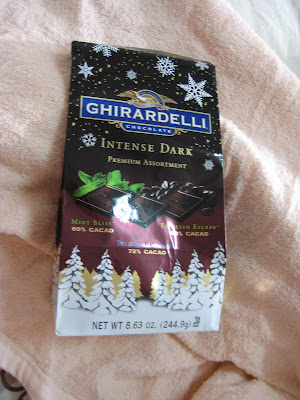
After
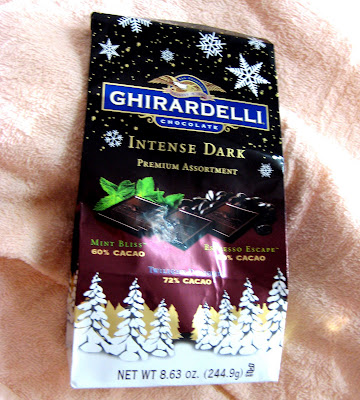
Before
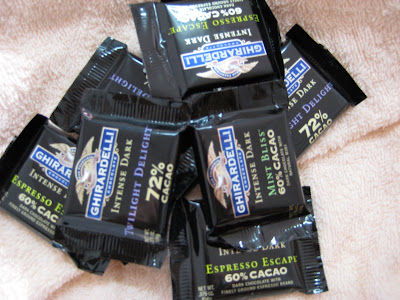
After
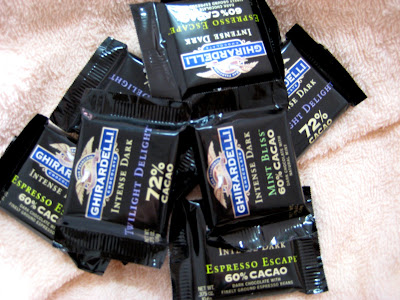
2) Adjust Brightness/Contrast
3) Use the "rubber stamp tool" to erase the white areas/glare
Before

After

Before

After

Subscribe to:
Comments (Atom)


